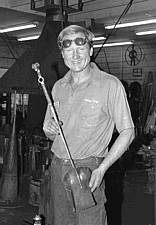
 Chris with the completed project, a Ram’s Head Fire Shovel |
|
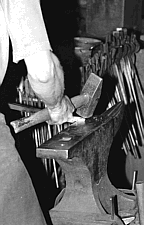 3/4” square bar stock is brought to a forging heat at oneend and hammered to half the thickness for approximatelytwo inches stepped down off the edge of the anvil. |
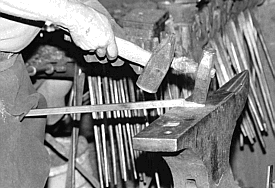 A splitter is used to split the horns for the ram’s head.Chris uses his legs to hold the other end of the stock. |
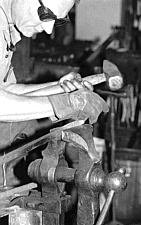 The horns are split apart, cleaning up any rough edges in the vise. |
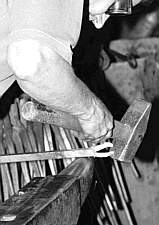 The horns are hammered apart, using the anvil horn. |
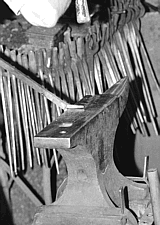 Each horn is forged out to a 3”-long point with square edges. |
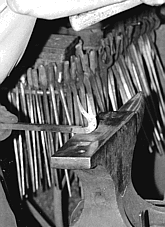 The portion to become the head is forged back upon itself utilizing the shortest fold back possible. |
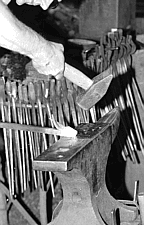 Then, the upper portion of the head is forged back onto the shaft, and the end slightly tapered. |
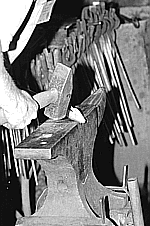 The neck is formed behind the jowl. |
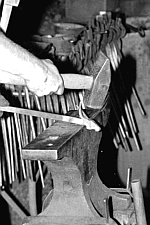 With a new heat, the jowl is formed over the edge of the anvil. |
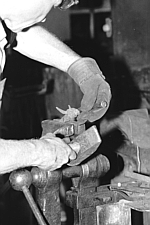 The nostrils are formed with a punch; the mouth is then formed using a thin, flat chisel. |
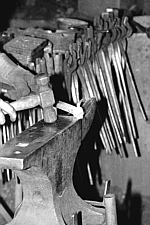 The cheeks are further refined using the corner of the anvil face pulling glancing blows with a ball- peen hammer. |
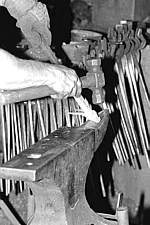 The jaw is carefully worked over the anvil horn to trueup or straighten. |
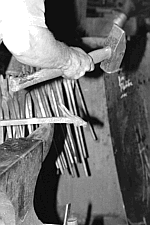 The neck is bent over the horn. |
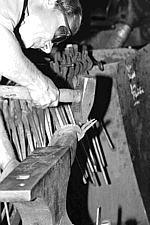 A cross-peen hammer is used to create the last little bend for the neck and to straighten up the horns. |
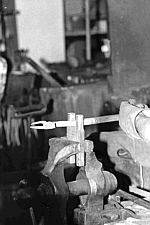 Bending forks are used to bring back the lower portion of the neck in proper alignment with the shaft. |
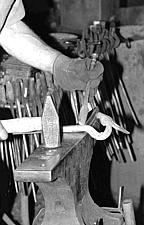 A slitting tool is used to start the hole which will be used to hang the fireplace implement on its rack, or fire tool stand. |
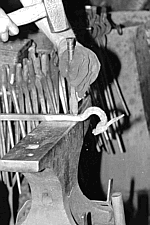 The piece is turned over and the slitter used on the other side to insure a symmetrical hole. |
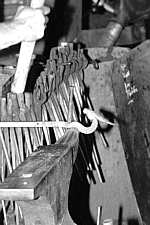 A drift is used to form an oval. The piece is moved to one side of the anvil horn and then the other as the drift is punched through, to minimize distortion. |
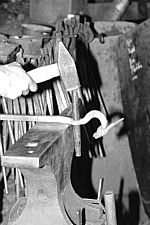 A larger drift is used to complete the hole, making it a perfect circle. |
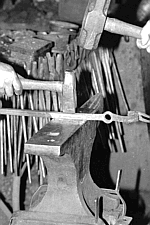 A crease is chiseled into each side of the shaft 1/2” below the newly formed hole. |
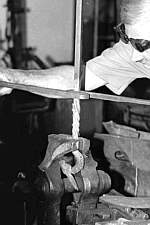 The heated piece is then put into the leg vise and twisted to form a split-rope pattern. |
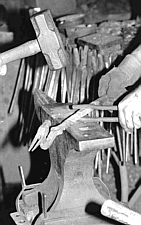 A spring fullering tool is used to form a crease at the bottom of the twist for an aesthetically pleasing space between the twist and the rest of the shaft. |