 |
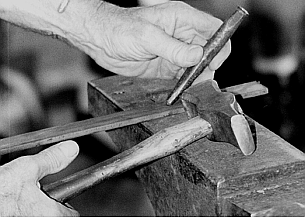
| First make a light center punch mark. |
©Nol Putnam
published in ANVIL Magazine, September 1996
 |
| First make a light center punch mark. |
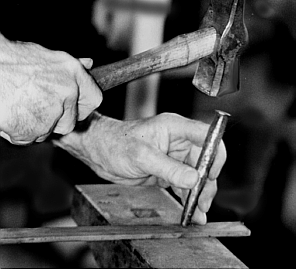 |
| Then make a heavy one after double-checking centered position. |
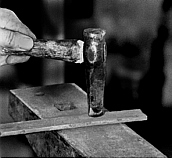 |
| Mark with the cutter. Note that cutter blade is at a 45o angle to the handle for ease of use. |
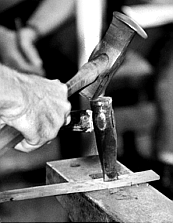 |
| Start the cut at a forging heat. |
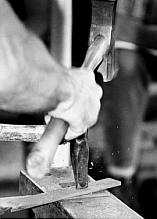 |
| Use an aluminum or copper cutting plate to protect the cutting tool and the anvil. |
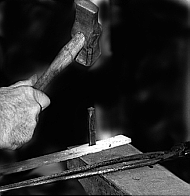 |
| Start the drift in the slit at a forging heat. |
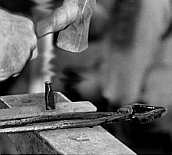 |
| Drive it through both ways. |
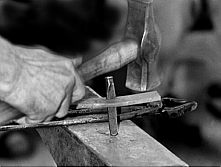 |
| Remove quickly. |
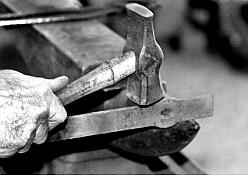 |
| Shape the shoulders. |
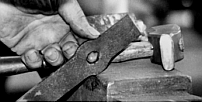 |
| And there's the hole! |
Tips from Nol Putnam
presented at the ABANA Conference, 1996
Mark your work.
No matter what you're making, draw a picture first.
ANVIL
Try using the anvil backwards.
On the anvil, grind a radius on the edge of the off-side face next to the
table.
Make anvil height comfortable, to where your wrist hangs.
FIRE
When starting the fire, wad four pieces of newspaper around each other.
FORGING
When forging, put work in the middle of the fire.
Forge at the highest possible heat for the process you're doing.
HAMMER
The hammer handle length should be from the crook of the elbow to the tip
of the fingers.
When holding your hammer, upset both faces slightly.
Hold hammer loosely.
To temper hammer head, bring to a red heat, then soak in wood ash until
cool.
To temper hammer face, bring to a red heat to about 1/2" from the end, then
run cold water on the face.
Shave hammer handle for comfortable grip.
UPSETTING
When upsetting, rotate piece to keep it even; localize heat; light hammer
with rapid blows.
VISE
When using the vise, use aluminum angle iron on the jaws to protect the finish
of the piece.
Return to the Blacksmithing Articles listing page.
Return to the ANVIL Online Table of Contents for September, 1996.