| Published in the November 2000 Issue of Anvil Magazine In the process of tearing down the hammer, make sure to mark all parts on one side of the hammer with a punch to insure correct reassembly. It may be necessary to plug and re-drill the arms. |
|
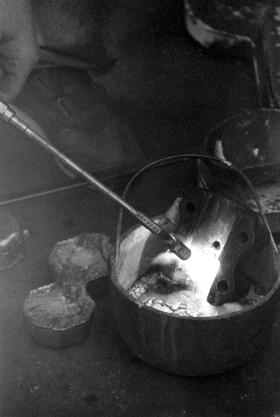
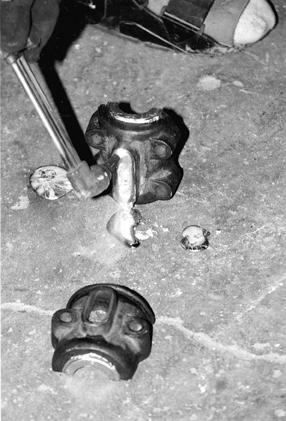
| 1. The old babbitt material is melted out of the casings. Use babbitt material with high lead content for more impact absorption. |
|
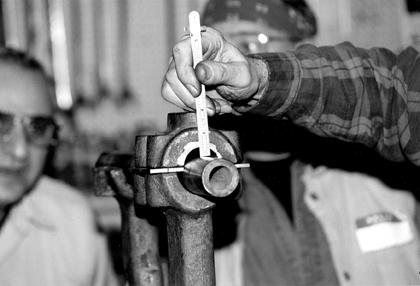
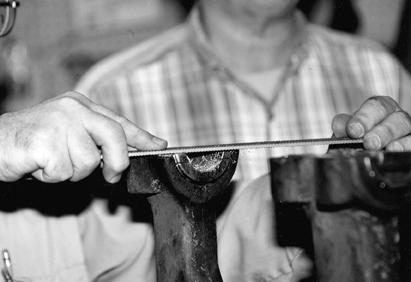
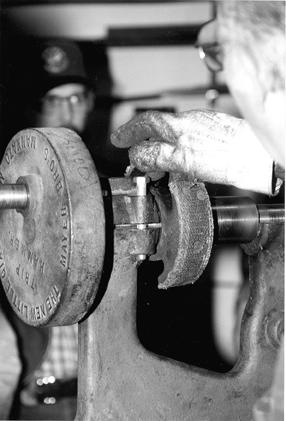
| 2. To determine a thickness of spacers required to space shaft into center of cavity, assemble, measure distance, divide by two. |
|
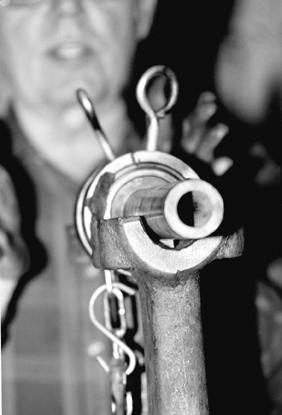
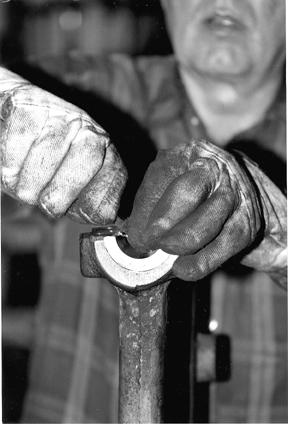
| 3. In this case, we cut a piece out of a brass ring approximately 5/16" thick. The piece of brass is put in place, holding the shaft the correct distance above the frame. |
|
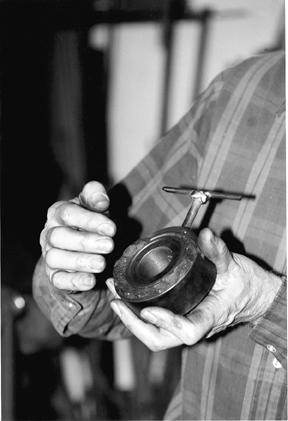
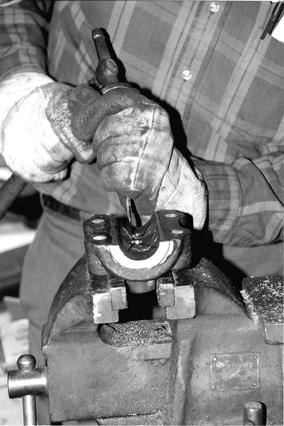
| 4. Babbitt damming material is packed in a special jig to hold the babbitt in place. |
|
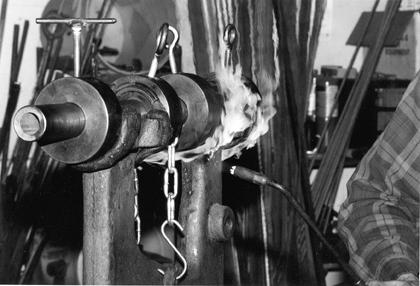
| 5. Before pouring the babbitt it is necessary to preheat in order to drive all the moisture out and to allow babbitt to flow for a smoother bearing. In this case, the frame and mandrel should be preheated to approximately 360 degrees F. Note the use of a tie-down to hold the shaft in place above the frame. |
|
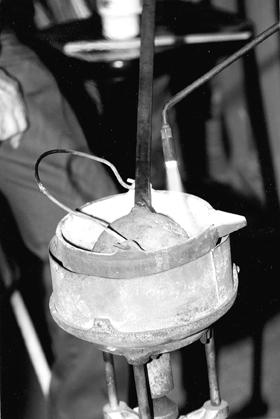
| 6. The babbitt material is melted in the cupola. Beeswax is used as a flux to mix old and new babbitt. Do not overheat babbitt. |
|
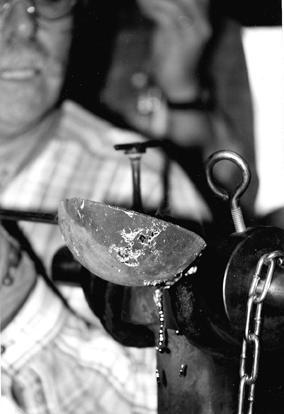
| 7. The babbitt material is poured into the cavity. |
|
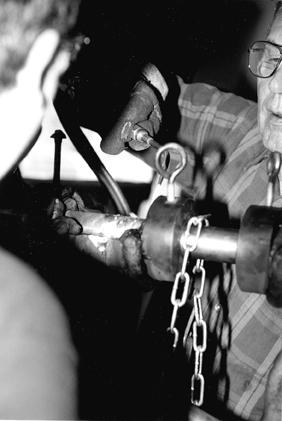
| 8. A small oxyacetylene tip is used to blend in edges of bearing and to remove some of the excess babbitt. |
|
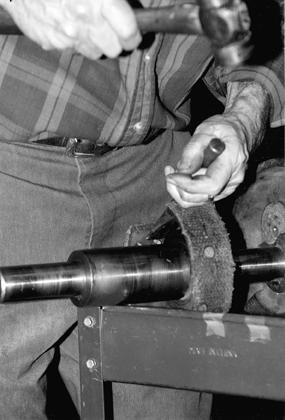
| 9. Excess babbitt material is chiseled off and then filed flat using a body file. The babbitt is then finished off with a Scotch-Brite sanding material. |
|
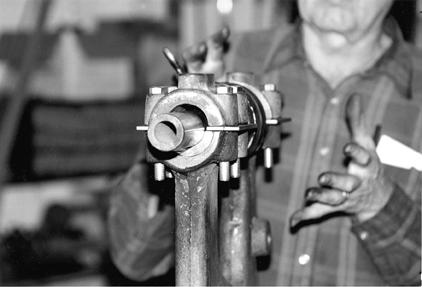
| 10. The shaft rests in the newly formed babbitt material on the frame with the top journals in place. Note 3/16" spacer between cap and frame. This will be replaced with shims when adjusting bearings. |
|
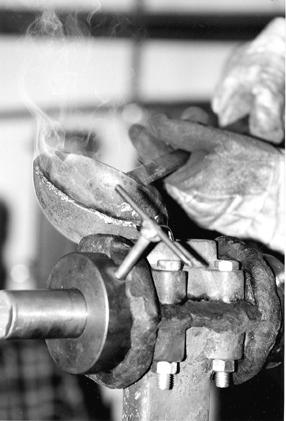
| 11. The jigs are put in place and the babbitt damming material is placed all around as a seal. Once again the top half is preheated with a torch, the babbitt material is once again heated up in the cupola and poured into the chamber, through the oil hole. |
|
| 12. The jigs and babbitt damming material are removed. |
|
| 13. Excess babbitt material is cleaned from the ends of the bearings to control end play. Grind off any excess material from the bearing caps. |
|
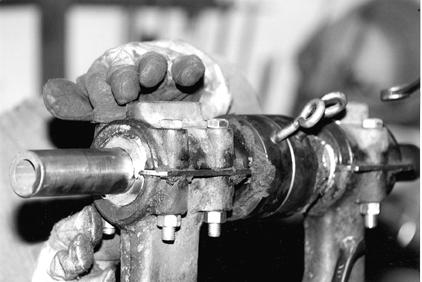
| 14. Burn out excess babbitt from oil holes by using a torch and then drill the oil holes. |
|
| 15. Score the upper bearing surface with an x-pattern and then groove the bearings for the oil channels. A dremel tool can also be used in this process. |
|
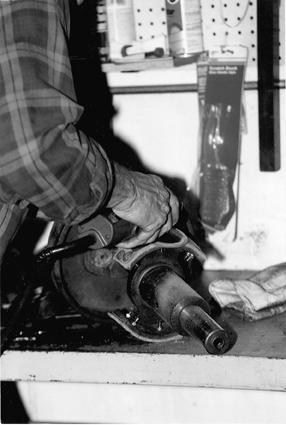
| 16. The journals are put into place to check end play. Shaft assembly shows old clutch material. |
|
| 17. The old clutch material is removed by shearing the rivets. |
|
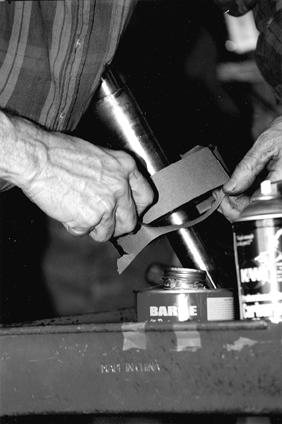
| 18. A trial assembly of the clutch is used to determine the amount of shim to be used under the clutch material for proper engagement and then paper shim material is glued onto the clutch spider and trimmed. |
|
| 19. 7-ply belting material for the clutch is then glued onto the shim and the belting material is drilled to accommodate the brass screws. The brass screws are tapped into place, nuts and lock washers are installed and tightened to pull bolt head below surface of clutch material. |
|
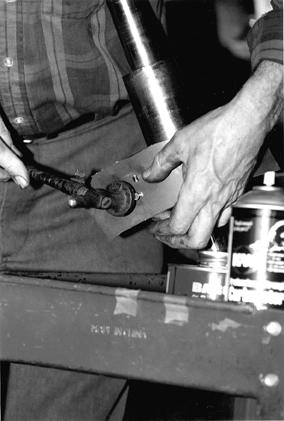
| 20. The belting material is trimmed and everything is sanded smooth and the edges are beveled. |
|
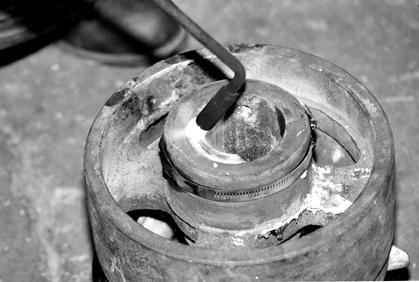
| 21. The clutch assembly is prepared to accept new babbitt material. The old babbitt material is melted out. As you can see from the photograph, some brazing was necessary on the wheel. The hose clamp holds Babbitt-Rite to plug a hole in bottom of the clutch collar groove. |
|
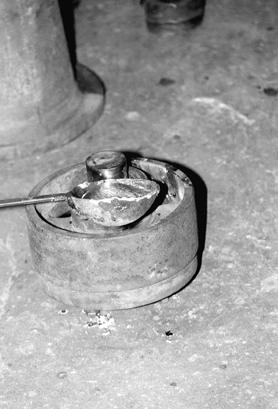
| 22. A plug is put inside the clutch in preparation for pouring. This plug is approximately 1/2" undersize. New babbitt material is poured. The pour is done in two parts because of the size of the ladle. The first pour is kept molten with a torch. |
|
| 23.The babbitt in place prior to removal of the plug. The plug is pulled out and the inner bore is machined to size. |
|
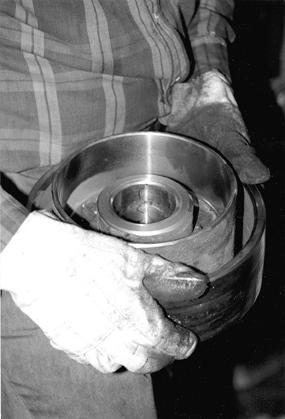
| 24. The back side of the clutch pulley. |
|
| Look for Part 2 in the December issue.
Return to the November 2000 Table of Contents Return to the Blacksmiths Articles Page
|
|